
My boyfriend’s birthday was coming up, and I needed to get him some gifts quick! I was dreading the possibility of a fruitless hunt through the crowded streets of SOHO. At the advice of a my friend Makky, I decide to call on the wonderful staff at Barneys New York for help. I was set up for a retail blitz with Glen. After I arrived, it only took about an hour for us to curate a personalized birthday collection from the store’s impeccable offerings.
As I was checking out, Glen asked if I’d want the gifts wrapped. Even though I like wrapping gifts myself, I said, “Yes, please.” I was curious to see how he would it. For many years, he’s been using an ingenious technique to give his ribbon tied gifts a sophisticated flair. Glen’s hands moved at lighting speed, apparently from years of experience with busy Christmas holidays.
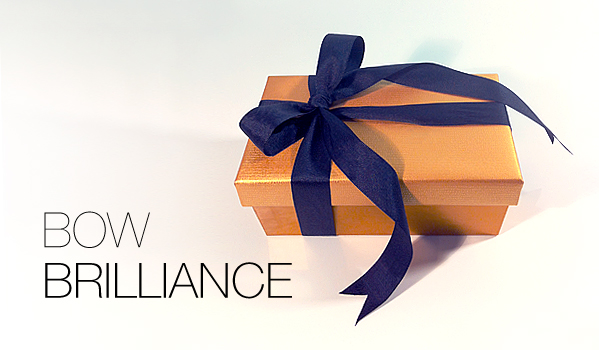
I love the off-center position of the bow. The bottom of the gift is also completely flat as any knotting is on top, hidden underneath the bow.
1. Measure out the ribbon. Loosely run the ribbon from the bottom of one side of the box to the bottom of the opposite side. Do this twice for the length and twice for width of the box. Add about 2 ft more to account for the bow. 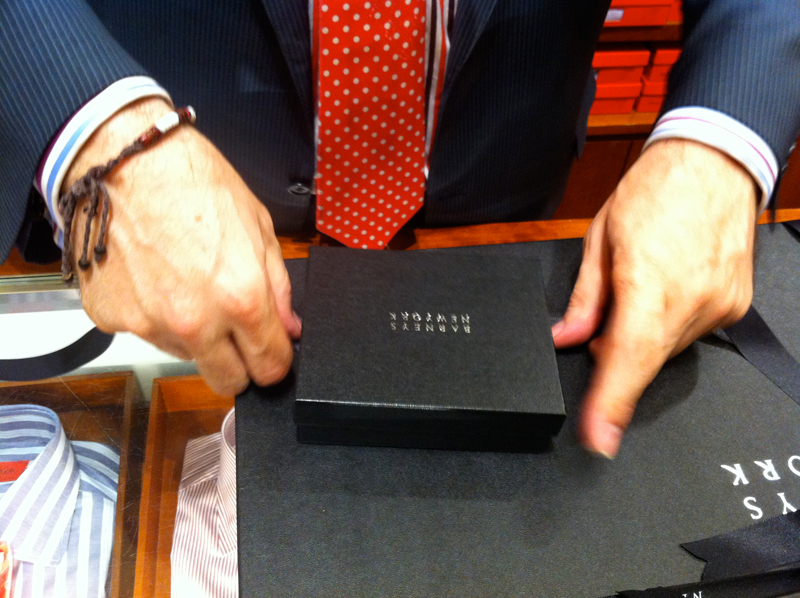
2. Pass the ribbon underneath the gift box. One side should have a length of ribbon protruding from it that is at least 1 ft plus the height of the box. If you have a very wide box you may need to make the length a little longer. 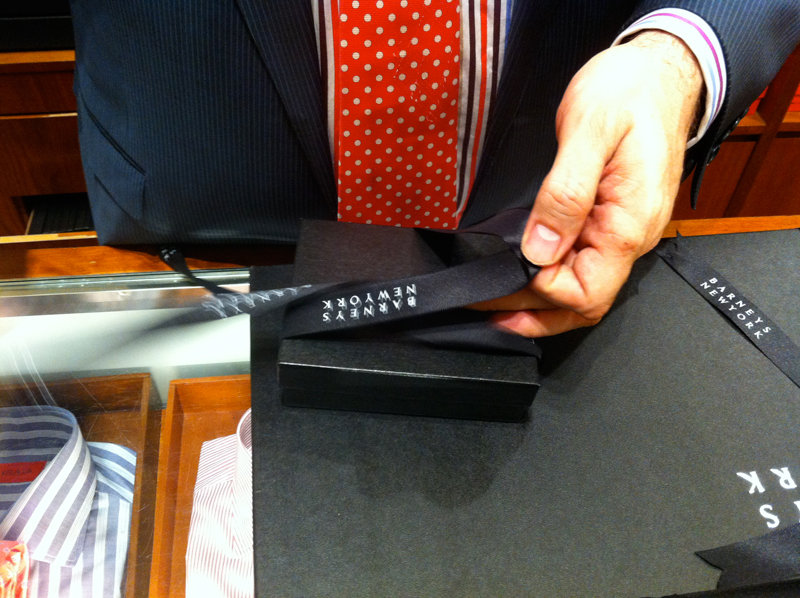
3. Cross the short end and long working end of the ribbon on top of the gift box to create the first loop. 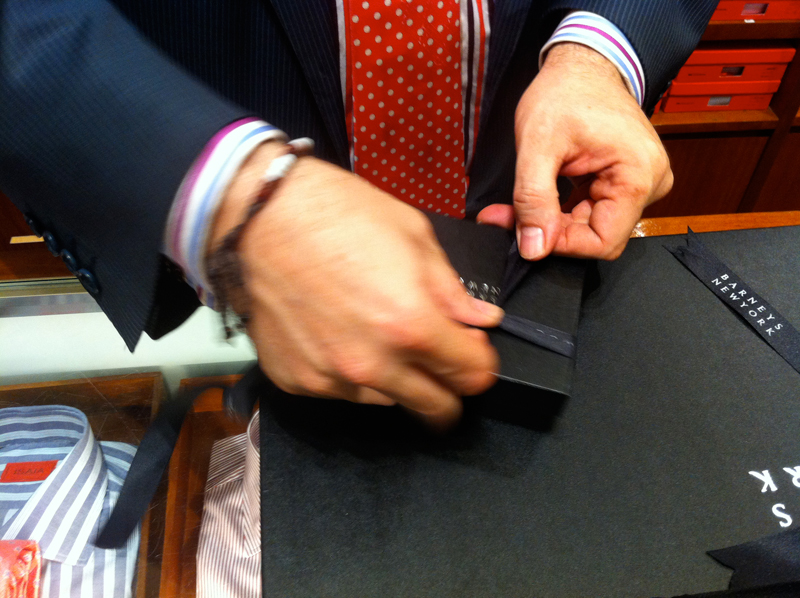
4. Pull the crossed ends tight. 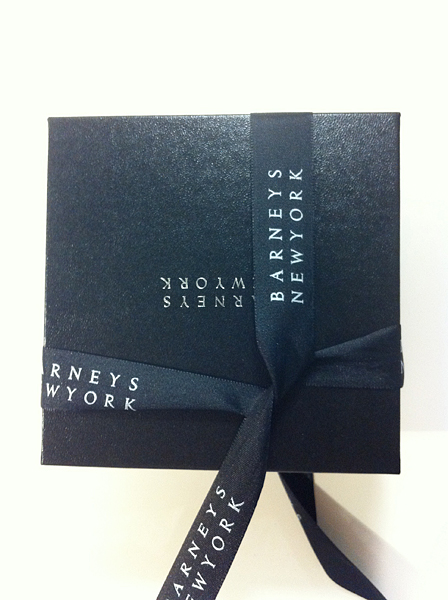
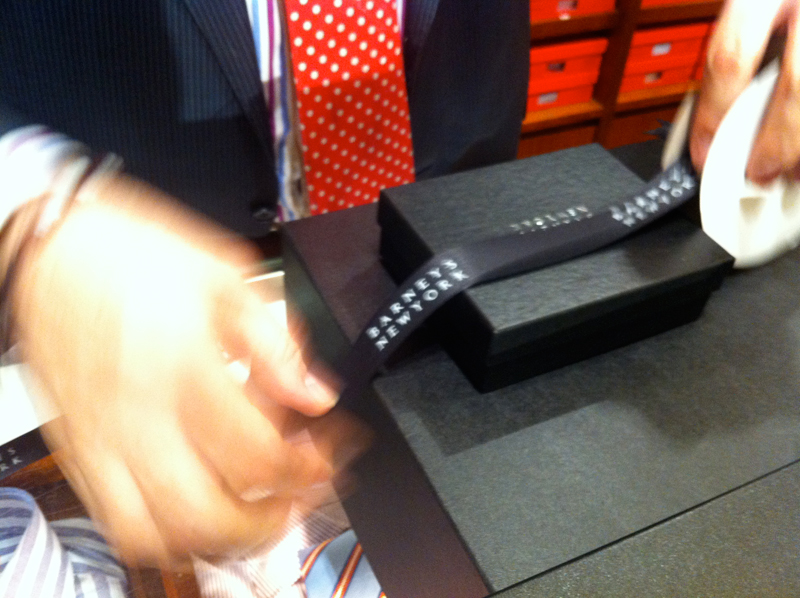
5. Pass the long working end underneath the box and back up the other side to meet up with the short end again. 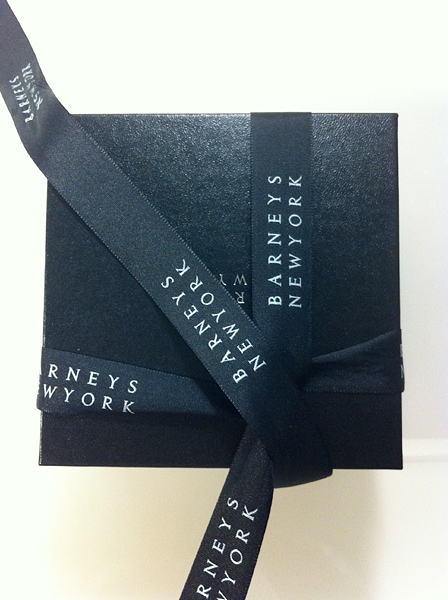
6. Bring the long end up and cross over the top of the short end between two loops. If needed, you can adjust the length of the two ends to make them even. Just be careful to hold the crossing in place while you shift the ribbon. 
7. Pass the long end under the loops. 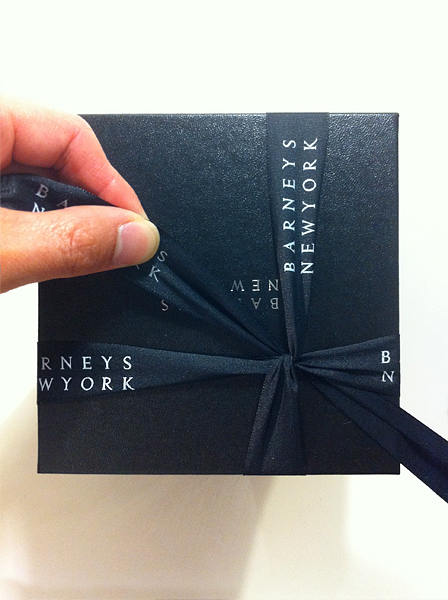
8. Pull the ends to tighten the loops. 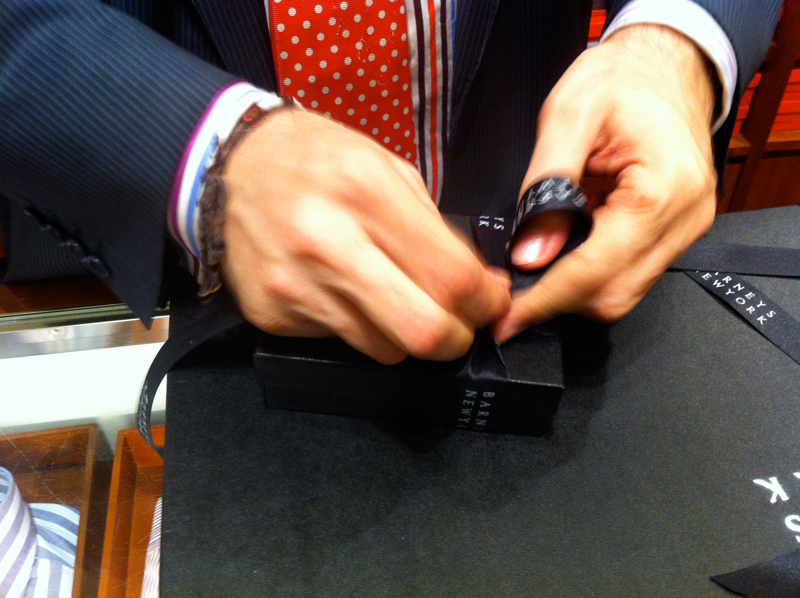
9. Tie a bow. 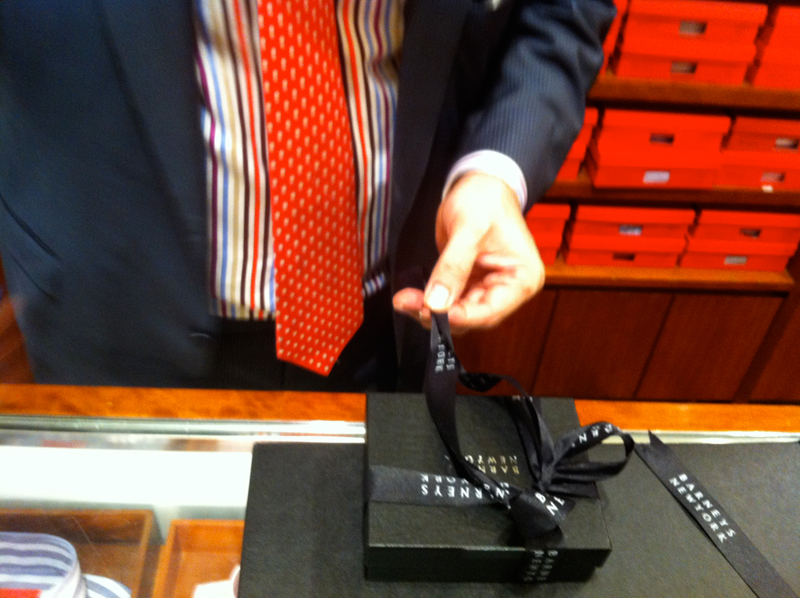
10. Double up the ends and fold in half lengthwise. 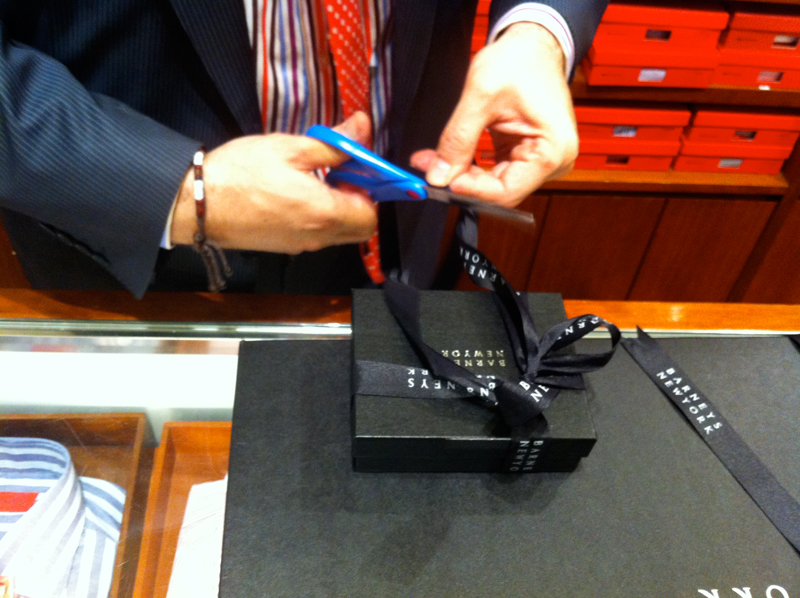
11. Cut the ends at an angle. 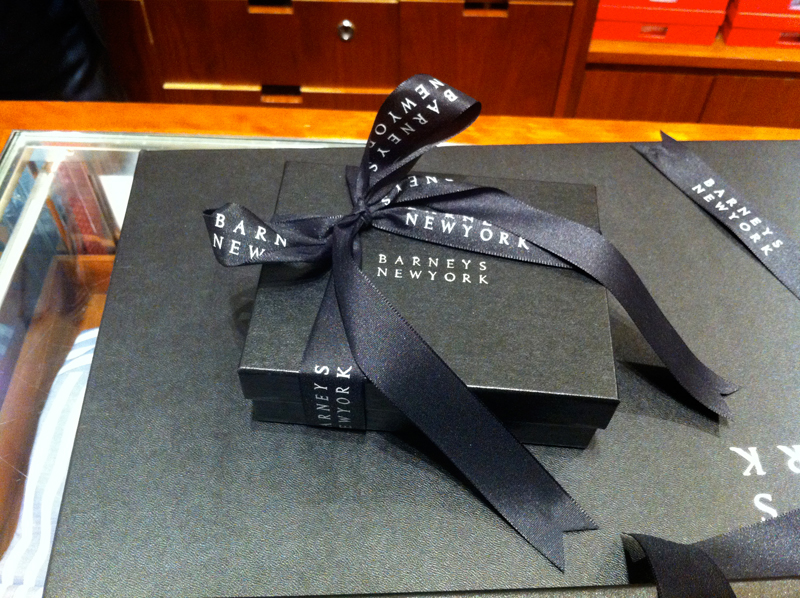
Here’s the finished bow 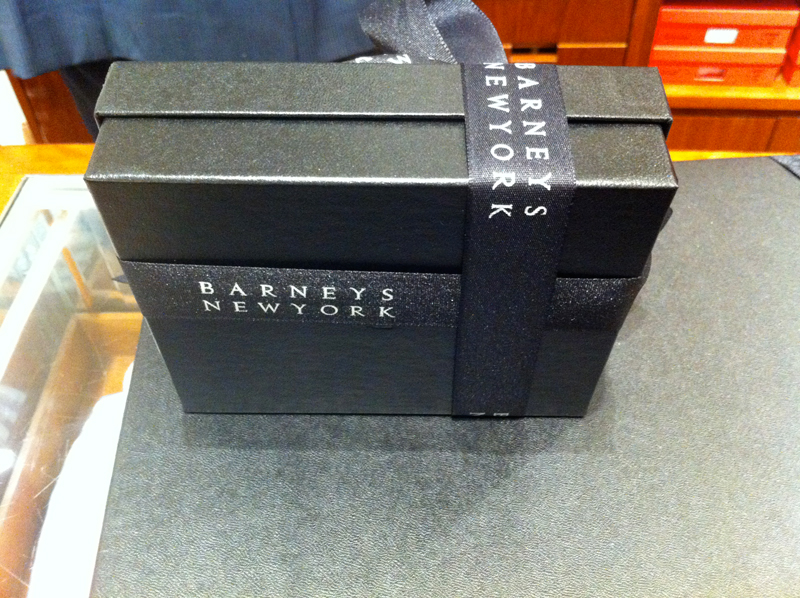
Using this method, the obtrusive bump from crossing is on top of the gift underneath the bow, and the bottom of the gift is perfectly flat.
2 replies on “HOW TO tie ribbon like a pro”
I sooo want to do this. I think I need one of your great video tutorials! Pretty Please?
A video tutorial for this? Sure!