• Home
  • Buy
    • Quarterly Craft Kits
    • Limited edition pendant lights
    • Tools and supplies
    • Books
  • Blog
    • DIY projects
    • Announcements
    • Buzz
    • Out and about
  • About
    • What’s Relevé Design?
    • What’s upcycling?
    • Why do I upcycle?
    • Who’s talking about us?
  • Contact
    • Write to us
    • Join our mailing list
  • Press resources
  • The Quarterly Club

HOW TO reduce cable eyesores and wasted packaging at the same time

Posted by Bao   -   Sunday, January 29th, 2012   -   DIY projects

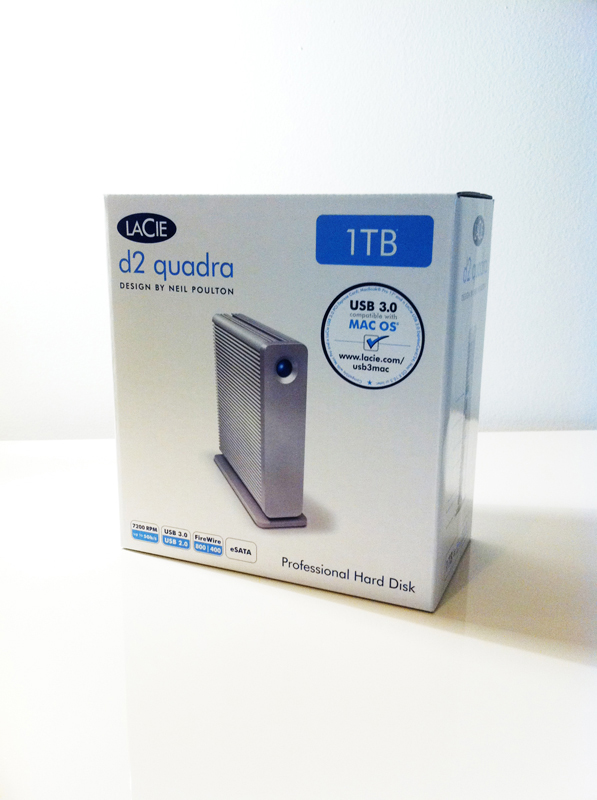
I’ve haven’t been able download email or pictures for the past two days! I figured out that my external hard drive was full. All the video tutorials I’ve made and pictures I’ve taken have filled it up already! I went to an electronics store and upgraded to a fancy shmancy new one.

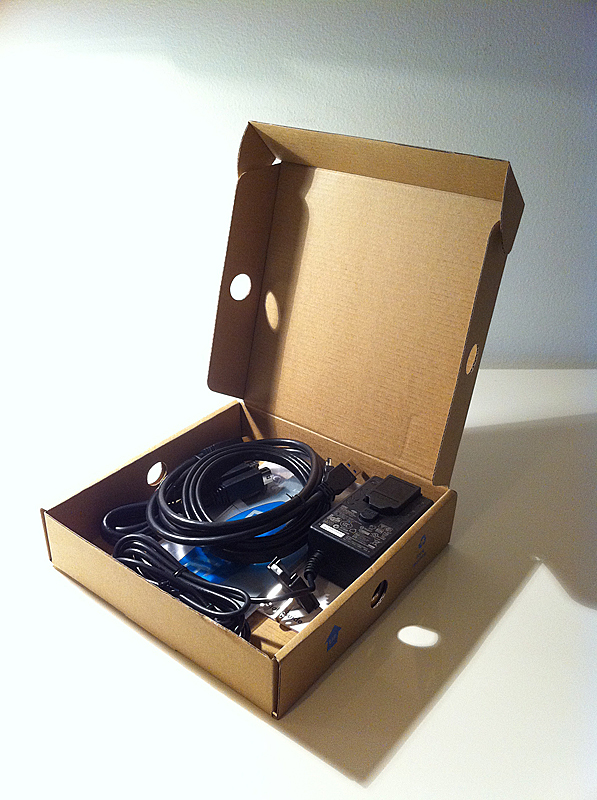
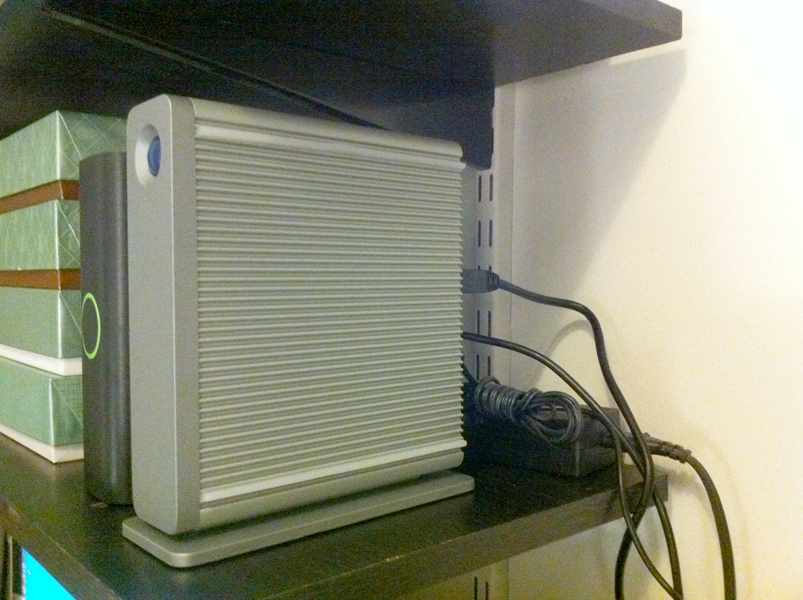
This resulted in an eyesore of wires and power cables. I couldn’t live with that! I whipped up an upcycled solution from the box the hard drive came in. I also made a couple of complementary decorative accessories to use up more of the packaging.

I’ll show you the basics of covering a box, a quick and dirty way to restyle a box, and let you in on some of my secret design techniques.

All you need is a pair of scissors, X-acto knife, ruler, Tempaper (contact paper or normal paper), and glue.


Covered cable box

This works best with boxes that are constructed without glue. The general techniques in this tutorial can be applied to glued boxes and any object with straight edges. I do NOT suggest hiding any adapters in the box if they tend to get hot, but if you must, then punch some air holes on the top and sides to allow hot air to escape. Use the air holes as another design element and create cool patterns!

  1. Open and flatten the box.
  2. Cut a sheet of Tempaper to the size of the flattened box.
  3. Peel off the Tempaper backing.
  4. Place the outside surface of the flattened box on the Tempaper.
  5. Smooth out the air bubbles pushing from the center outwards.
    Design secret – This is how you get a smooth finish when you cover anything with. Start smoothing from the center outwards towards the edges. This helps prevent wrinkles and bubbles and makes sure the adhesive sticks!
  6. Cut out the excess Tempaper leaving about 1/4″ – 1/2″ allowance around the box.
  7. Cut an angle at every corner leaving about 1/8″ – 1/4″ between the angled edge and the box corner.
    Design secret – This is how hardbound books get their clean covered corners.
  8. Cut a slit between every flap of the box.
  9. For each flap of the paper box, fold in the side edges of the Tempaper. Make a crease in the folded Tempaper at the top edge of the flap, then fold down the Tempaper over the top edge.
    Design secret – Cardboard or any thick paper has a thickness. Sounds obvious, but sometimes I forget. The crease makes a it easier to fold over the top edge and also gives you a cleaner covered edge. It’s all in the details!
  10. Cut a hole large to accommodate all the wire to enter and exit the box.
  11. Fold the box back up.
  12. Insert your wires.


Quick and dirty box restyle

I turn my boxes inside out all the time. If you need to store an item in it’s original box, turn the box inside out. You can decorate it to match your decor and store it out in the open without it creating more visual noise.

  1. Open and flatten the box.
  2. Using an X-acto knife, roughen the flap that was glued by making cross-hatched scores along the entire surface. You can also sand it lightly with sandpaper.
    Design secret – Slick cardboard and paper is often coated to protect from smudging and moisture. This makes it difficult to glue on as well. Roughening the surface makes it possible to glue onto.
  3. Apply glue to the flap.
  4. Reassemble the box inside out.
  5. Cut a strip of Tempaper, removing the backing before wrapping it around the box.


I noticed that the manual was a conveniently a perfect square, so I tore the sheets in half and made a little origami octahedron.

Related Posts Plugin for WordPress, Blogger...Pin It

Share this post:

  • Pin It
  • Digg
  • Share on Tumblr
  • Email

Tags: box, paper

6 Responses to “HOW TO reduce cable eyesores and wasted packaging at the same time”

  1. Sandee 29. Jan, 2012 at 8:00 am #

    This is awesome. Helps you keep the box, too…(If you are that person who KEEPS ALLLL their boxes!) Covering the box to look like a book would look great in some settings! p.s. Thanks for your blog and pinterest logs. Love your eye!

    Reply
    • Bao 29. Jan, 2012 at 2:36 pm #

      Hi Sandee! Thanks! I am the type of person who feels guilty for throwing away boxes, especially if the item was really, really expensive! Covering a box to make it look like a book is an excellent idea! That could be really fun! It would also help to blend in if you want to put it on a bookshelf. If we weigh down the box, it could even be used as a bookend…hmmm. I might have to try it and post it! Well, thank you so so much for following my blog and pinterest! And…THANK YOU for taking the time to write! I truly appreciate it!

      Reply
  2. Karen 29. Jan, 2012 at 9:19 am #

    Very clever redo for the cables. And I like the idea of the inside-out box when you need to keep original boxes. I’ve used inside-out boxes for gifting before (and even rightside-out when the box printing was cool). I hope the 1 terra drive helps you – media takes a lot of space!

    Reply
    • Bao 29. Jan, 2012 at 2:53 pm #

      Hi Karen. If only boxes and containers were all designed too look good in our homes and not just store shelves. Oh well, it gives us an opportunity to be creative! I like reusing boxes for gifts too. Oh gosh! If it took me a few months to fill up a 160 gigs, I’m sure 1 terra should last me a while. Or I hope so!

      Reply
  3. MaryW 25. Feb, 2012 at 7:44 am #

    Love anything to be recycled. I am in technology and have like 30 iPad boxes, will wrap or spray paint for recycling at Christmas time! Love your ideas. thanks.

    Reply
    • Bao 25. Feb, 2012 at 7:42 pm #

      iPad boxes are sturdy! They would definitely make great gift boxes. Thanks for writing, Mary!

      Reply

Leave a Reply

Click here to cancel reply.

Subscribe to our blog! Enter your email to get notifications of new posts by email.

Recent Posts

  • Quarterly Craft Kit — revamped cabinet knob jar
  • Top 10 picks: The Armory Show 2013
  • HOW TO long stemmed paper roses

RSS Feed RSS - Posts

Show & tell

Make any of the projects? Create your own art and design inspired project? Discard anything regularly you'd love to see upcycled?

I'd love to know what you're up to!
Write to me. >> Share your pictures. >>

UPCOMING HOW TOs

Picture hanging with wire pant hangers
Giant origami accessories
Scalloped junkmail & magazine vase

See the entire list
and vote for projects you'd like to see next >>

Relevé Design on Pinterest

  • HOW TO dinosaur tail

  • HOW TO French fold fabric ball

  • HOW TO fabric scrap ball

  • Follow Me on Pinterest
find Relevé Design on Facebook Follow Releve_Design on Twitter Follow Me on Pinterest

Fridays 8/7c on ABC
As seen on

Copyright © 2012 - Relevé Design - All Rights Reserved

loading Cancel
Post was not sent - check your email addresses!
Email check failed, please try again
Sorry, your blog cannot share posts by email.